Showing posts with label table. Show all posts

18 April 2013

Copper Bottle DIY + A Spring Table!

I'm excited to share a quick DIY that really helped me brighten up my dining room table and get it ready for Spring! I bought these cute little milk glass jars at Ikea a few weeks ago at about $1.50 each. Hello great deal! At the time I had no plan for them, but once I saw them I knew that I couldnt leave with out a few.
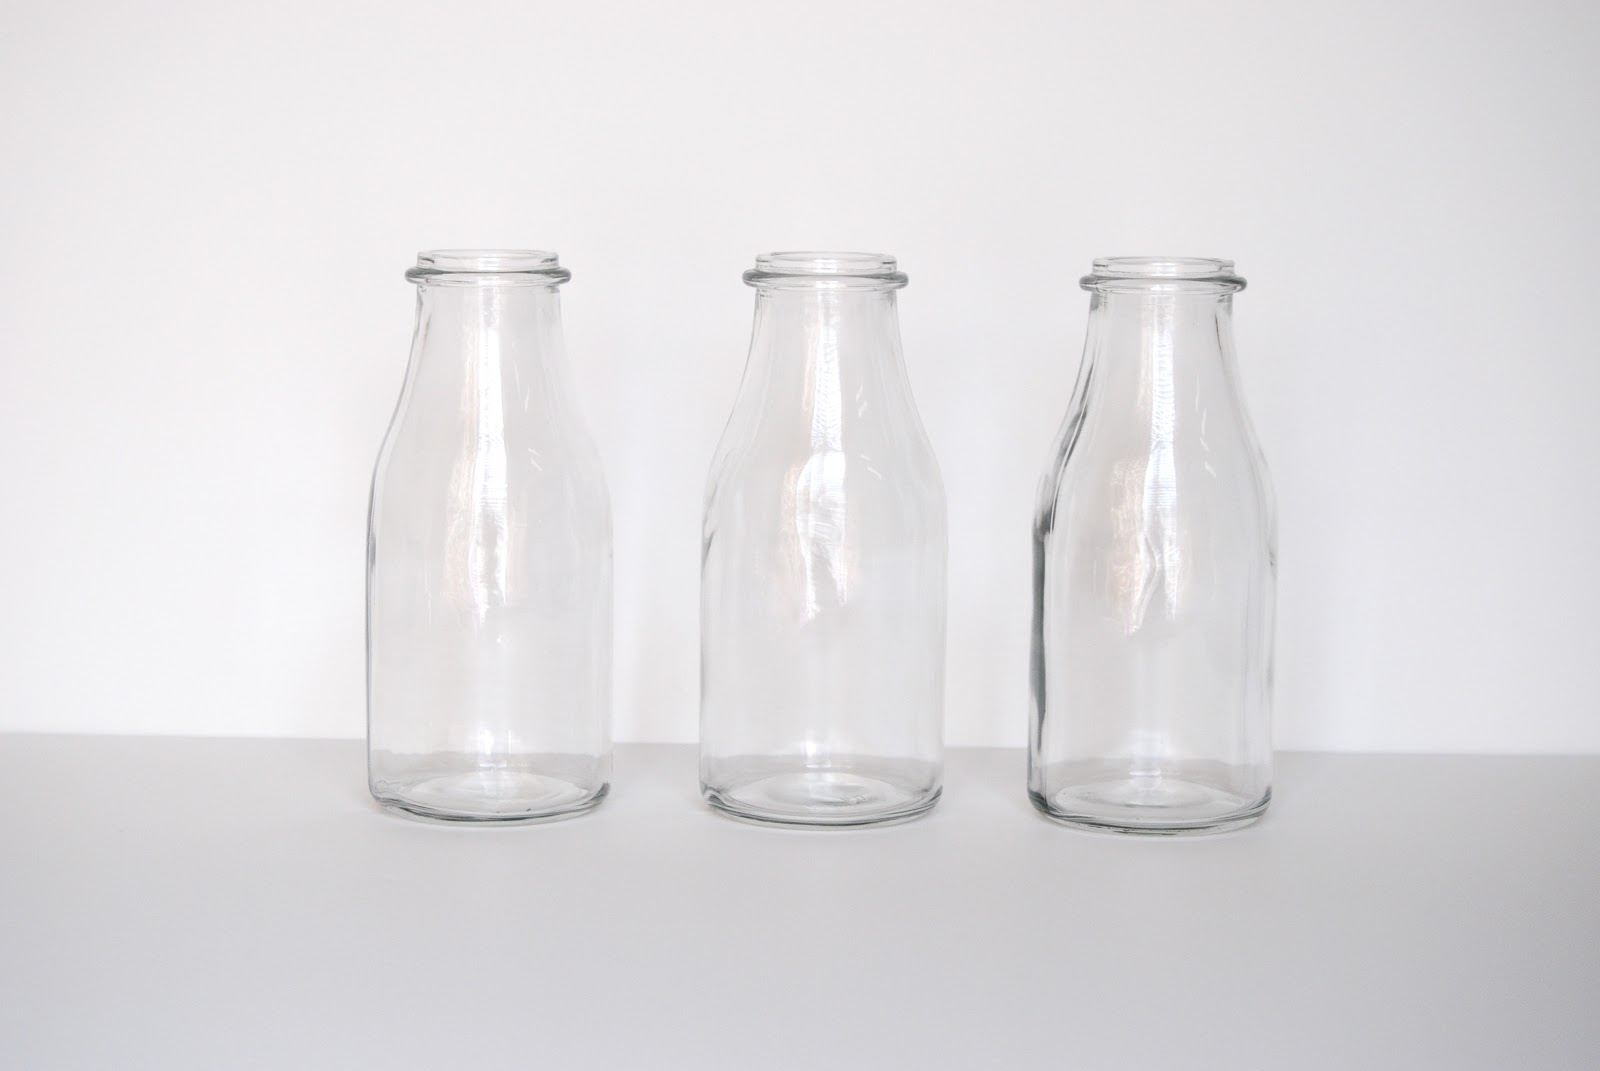
Here's what you'll need:
Glass Jars - you can find these here
Painters Tape
Spray Paint
Plastic or Paper Bag

Step 1: Take a plastic bag - you can use paper bags or newspaper too - and wrap the top of your bottle to the point that you do not want the paint to cover. Secure the plastic down with painters tape, this will give you a nice crisp line. I made sure that I had enough plastic to push down into the bottle so that the rim didnt get any paint on it.
Step 2: Spray paint your bottles! I used copper spray paint and I really love the shimmer that it gives off. I only used 2 coats for these, but really I could have done one more.

Step 3: Once the paint has completely dried you can remove your tape and show off your new bottles!
I think they look great with some of my vintage canisters from my wedding. Spring is the best time to add in brightly colored trinkets all around the house!

I would also like to take this opportunity to admit that I am a lover of faux flowers. I know that I may lose some of you on this one, but I cant help it. I especially loved these green leafy branches that I found the other day at a local craft shop - they're so vibrant! Am I alone in this? I'm a firm believer in putting things in your home that you love...not because they're hip or because other people will like them, but because when you walk into your home you feel at ease and inspired to be your best. I am not so good at keeping real plants alive (although I am working really hard to keep one little guy going strong!), but I really enjoy having bright little bulbs around.
I try to update my table each season, but I didnt really change it up too much this winter. You can see my fall decor here.

20 November 2012

Build This: Dining Room Table

Building a dining room table has been my dream for about 2 years now. We finally got rid of our hi-top dining room table/chairs (thank you Craigslist!) and within 10 minutes I had already ordered my new chairs online!

I had given Craig fair warning that this day would come...and to be honest it was a lot easier than we had anticipated! We didn't use any specific instructions. We really just played it by ear. All that I knew was that I wanted a thick plank table top and I didn't care too much about the rest.  We went to Home Depot and bought cedar planks and asked them to cut them all an even 7' long. Easy Peasy! We didn't even have to break out the saw at home. I'll give you a quick step-by-step on how we did the rest....

Step 1: Arrange the planks in the order that they look best. The specific type of wood that we used had lighter and darker areas, as well as, knots and defects. These are all good things! We tried to line up each one so that the best side was facing up....actually once you figure out exactly how you want it to look you'll need to flip it upside down. We used ratchet straps to make these as tight as possible. (note: learn from our mistake and put a tarp under the table to keep it from getting scratched!)
Step 2: Once your table top is all in place you'll need to put a healthy coat of Liquid Nail down. This is helpful when you put the piece of plywood down, just to keep it from shifting too much. Place your plywood down on top. We had this cut smaller than our table top to keep it from being seen too much. Use 2 additional ratchet straps to hold everything in place. Obviously you'll need to walk and/or jump on the table to make sure its sticking :)

 Step 3: Use the longest wood screws that you can find that will NOT go all the way through the top. You want them to be as long as possible but not TOO long! For example, if your wood is 3 inches long, you'll probably want to get 2 1/2'' screws. We made sure that each plank had about 4 screws in it.


Step 4: Assemble! There are lots of different ways that you can make the base of your table. You can buy wooden or metal legs, you can use an existing table base or you can build it from scratch. We bought these trestles at Ikea for about $30/piece and they took to the stain pretty well. They're real sturdy and visually appealing - to me, of course. There is an additional piece to these trestles that isn't shown which we screwed into the table top and it attaches straight to the trestle base.

Step 5: Sand & Clean. This part is really important. We didn't need a big fancy sander for this project so we just whipped out the good ol' Dremel. Once you sand everything and there are no splinters left (ouch!) you'll need to clean the table. Mostly I used the hand held attachment on my vacuum cleaner to get all the residue out from in between the planks and wiped it down really well.


Step 6: Stain & Seal. This part is fun! We used this stain (Early American) on our dressers and the color is completely different. Each type of wood takes stain differently. It turned out much darker than I expected, but its kind of fun to see how it turns out. (Note: We're more of a 'go with the flow' kind of couple so we were fine with it, however if you're really looking for a specific color make sure that you test out the stain on a scrap piece of wood so that you'll know how its going to turn out.) We used Varathane brand and thought at first that the Stain + Poly combo would work....it wont. You really need to put several coats of Polyurethane on the table after its stained. Each brand is different to be sure to read and follow the instructions on the back.  
 
Here's a little peek of the finished product. We also made some matching shelves to hang on the wall and found a fabulous over sized pendant light to hang above the table. There are still several things to do in this room, but its really coming together and I'm already loving it!

Tomorrow I'll give you a little peek at what my Thanksgiving table looks like :)
Related Posts Plugin for WordPress, Blogger...