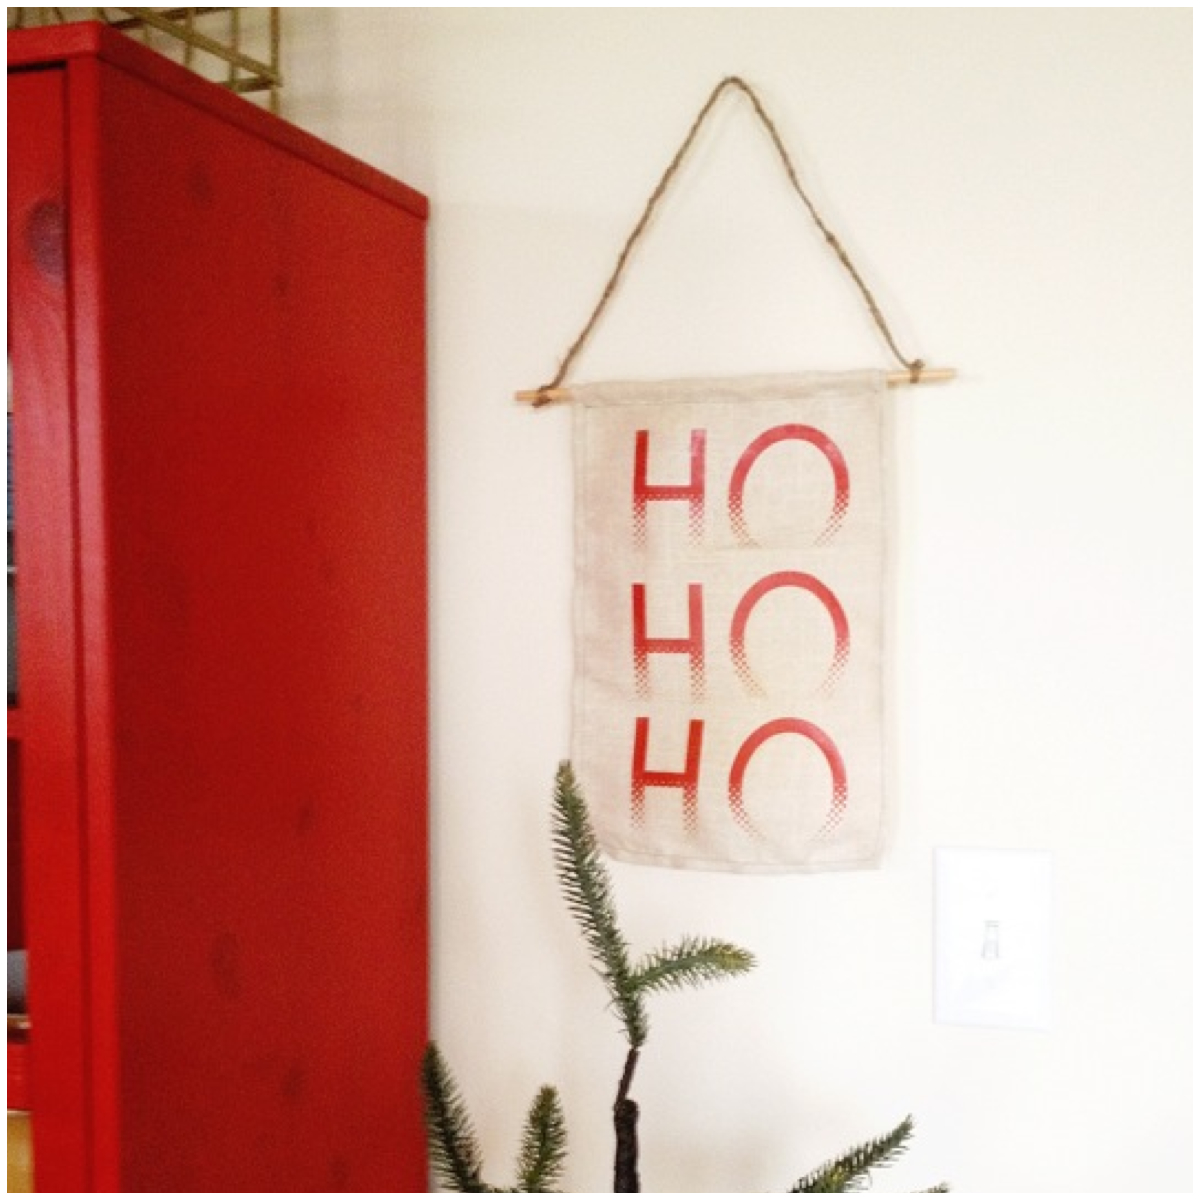
This DIY is so much fun! If you've never used iron on transfers before you're going to love them! (but please don't make any cheesy t-shirts...unless they're for a really good cause like running a 10k for the homeless...okay?)
Supplies:
1. Fabric of Choice
2. Dowel Rod
3. Green Thread
4. Transfer Paper
Not Shown: Scissors, Iron, Sewing Machine, Twine
Step 1: The first thing that you're going to want to do is decide what you want to print onto your banner. I went with a simple HO HO HO and found a really cute font that made me think of snow. You can download it
here for free! Make sure that you read the directions for the transfer paper so that you'll know which is the proper side of the paper to print onto. Mine had a purple line to help me decipher. I always print on a plain piece of paper first to check the size and color to make sure that I like it.
Note: When printing onto iron-on paper your image must be backwards or it will print incorrectly. Now, I am fully aware that HO and OH are the same backwards and forwards but I always make a habit of doing it just as a reminder.
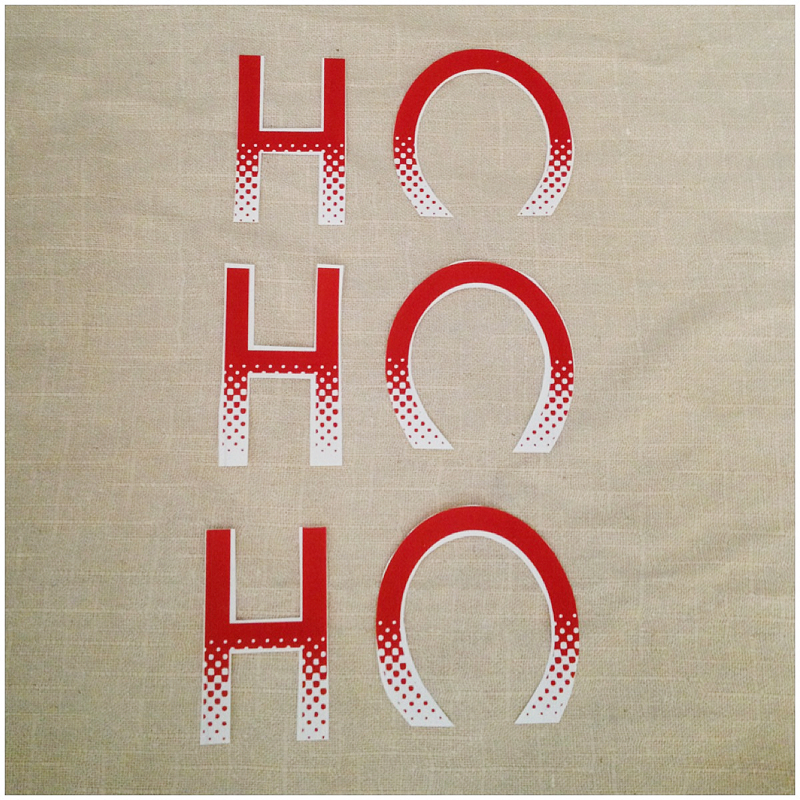
Step 2: Cut out your letters. With this step you're going to want to get as close as you can to the letters to prevent it from looking too plastic-y. You'll see what I mean when you iron them on.
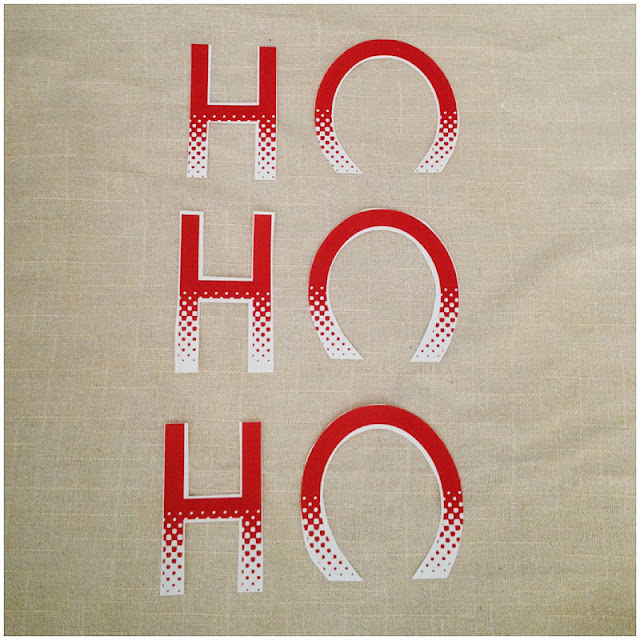 Step 3: Lay out your letters to see how big to make the banner. Most of you would probably do this the other way around, but as I'm sure you've already noticed I'm really a go-with-the-flow kind of girl and decided to just wing it. Measure out the banner and be sure to leave about an extra inch up top to make a loop hole for the dowel.
Step 4: Sew your edges. I chose green thread to stick with the holiday theme, but you could choose a color closer to the fabric of your banner if you would like to hide the seam. This is especially a good idea if you're not very experienced in sewing, if your thread is too bright you'll be able to see each and every mistake. I like the small pop of color! Don't forget the loop at the top of the banner for your dowel to fit into. I used a small dowel so it was very easy to leave a big enough gap for it to pass through.
 Step 5
: Lay your letters on the banner ink side down. Make sure that they are in the exact spot that you would like because once you start this step you cant go back to move them. Make sure that there is no water in your iron and place the banner onto a hard surface - not your ironing board. Iron each letter for about 90 seconds and wait for it to cool. Peek under one of the letters to make sure that it transfered and then you're free to lift! This is the fun part!
Step 6: Slide the dowel in and hang! I used some thick twine to keep it simple - and thats it!